JoomPush Documentation
This documentation contains Guides and How-tos to setup and configure JoomPush on your Joomla site.
Requirements
Before we begin, ensure that you have met the System Requirements in order for JoomPush to operate correctly. You may find the most basic requirements for JoomPush below:
Joomla
Every information related to PHP and MySQL is presented on Joomla’s page, click here to see details
- Joomla 3.x
PHP Requirements
JoomPush runs on PHP and it requires PHP to exist on the site.
- 5.3+ and above.
MySQL Requirements
JoomPush requires a minimum version of MySQL 5+
Checking System Requirements
You may review these requirements from the management system: System → System Information → PHP Settings
You can also create a very simple PHP script and include the codes below in your php file.
<?php
// This is a very simple method to load up php's settings.
phpinfo();
?>
SSL certificate websites
Push Notifications will work only on sites have HTTPS / SSL certificates and on Google Chrome and Mozilla Firefox latest version browsers.
How to Install
Installation and Configuration
Assuming that you have already downloaded the JoomPush package
- From the backend of your Joomla site (administration) select Extensions → Install/Uninstall.
- Click the Browse button and select the extension package on your local machine.
- Click the Upload File & Install button.
- Some extensions may provide further instructions on installation.
- Note that modules and plugins must be enabled before they will work.
There are some situations in which this procedure will not work. Sometimes you need to unzip the file locally prior to installing. If you get an error saying that the file is not in the correct format, the need to unzip is a common cause of this. After unzipping try installing the individual items. Note that the files you upload using the installer still need to be zipped.
Component Configure
First save the component config
- Go to administrator->Component->Joompush
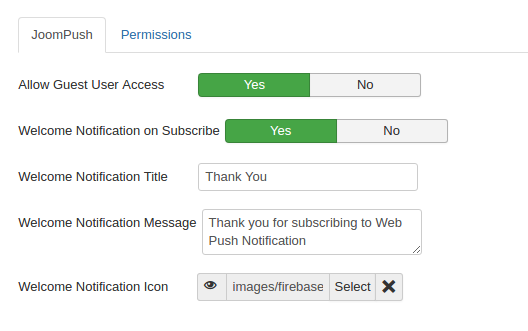
- In Component option save 'Allow Guest' option
- Yes=> guest user will able to subscribe for notification. No => Only registered user will able to subscribe
Welcome Notification on Subscribe
Set 'Yes' to 'Welcome Notification on Subscribe' option to push welcome notification to new subscriber. Admin user can manage welcome notification text, message and icon from the the config. See below image for more details.
Cron Setting to Send Notifications
JoomPush sends Web Push Notification to subscribers and groups. In order to get these web push notification working, you will have to setup Cronjob for JoomPush. According to CRON Job time, push notifications will be send. Set CRON Job to every minute is recommended.
Let’s see how that is done:
Cronjobs
Cronjobs are scheduled task that runs at the intervals or predefined times on the server. The purpose of cronjob is to execute series of simple tasks from a script file provided by the user. This cronjob can be done through cPanel in which it offers the user interface as a tool to ease users to setup cronjobs for his site.
Accessing your cPanel
To access the cronjobs section on your cPanel, you just need to click on the crojob icon highlighted in the screenshot below.

Setup Email
Specify an email address at the cron email section to receive notification or status messages whenever your cronjobs are executed.

Adding a cron job
There are several steps allocated for this section. You'll need to follow the provided steps carefully in order to make your cornjobs working correctly on your site.
1. Setting Up Cronjob Interval. (Set to every minute is recommended.)
To setting up cronjobs, you'll need to configure the interval at which second do you wish to run the cronjob.

- Minutes
Use this menu to select the number of minutes between running the cronjob or the minute of each hour for which you wish to run the cronjobs. - Hour
Use this menu to select the number of hours between running the cron job, or the hour each day on which you wish to run the cron job. - Day
Use this menu to select the number of days between running the cron job, or the day of the month on which you wish to run the cron job. - Month
*Use this menu to select the number of months between running the cron job, or the month of the year in which you wish to run the cron * - Weekday
Use this menu to select the day(s) of the week on which you wish to run the cron job.
2. Setting Up Cronjob Command
In the command field, you'll need to add the correct command for cronjobs to run properly
wget -qO- "https://[YOUR_SITE_DOMAIN]/index.php?option=com_joompush&task=sendNotifications" &> /dev/null
For Ex.
wget -qO- "https://joompushdemo.weppsol.com/index.php?option=com_joompush&task=sendNotifications" &> /dev/null
You can have cron to send an email for each time it runs a command. However, if you do not want an email to be sent for an individual cronjob, you can redirect the command's output to a wormhole by adding this command line.
/dev/null like this: mycommand >/dev/null 2>&1
3. Store Cronjobs
Once you've finished configuring the cronjobs, you'll need to click on Save Crontab button and you're ready to test your cronjob on your site.

This concludes how to create a cron job in cPanel.
GDPR Configure
Steps for GDPR setup
- Go to administrator->Component ->Joompush Option
- In Component option save GDPR settings As Follows:
Right to Informed Message
If user clicks on ‘Yes’ button 'Right to Informed' notification is displayed on the screen. Admin user can manage Right to Informed notification text, message from the the config.
Legal Consent Bottom of Page
If user clicks on ‘Yes’ button 'Legal Consent’ display on Bottom of Screen. Admin user can manage Right to Informed notification text, message from the the config.
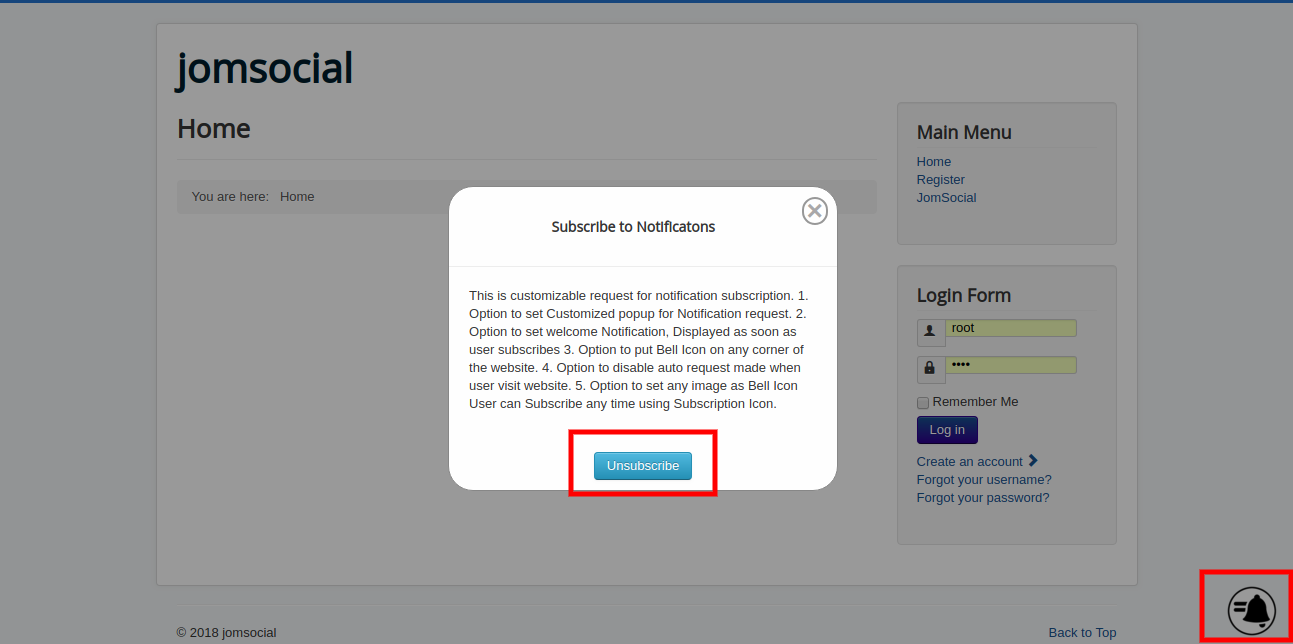
Allow Unsubscribe to user
If user clicks on ‘Yes’ button 'Allow Unsubscribe’ the User Unsubscribe facility will be display on screen. Admin user can manage Unsubscribe Modal Popup Message text using 'Unsbuscribe Modal Popup Message' and also admin can set custom 'After Unsbuscribe Message' from the the config
Get Google Firebase API and Secret Key
Joompush works with google firebase cloud messaging, so you need to create google firebase project to get API keys and other data.
Please refer following video to create firebase project.
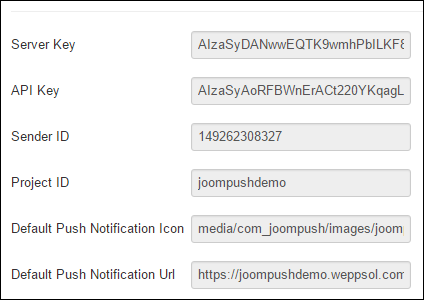
To save firebase config details, go to administrator->Component->Joompush. You just need to configure google firebase parameters. Parameters details as below:
Server Key:- Firebase project cloud messaging ‘Legacy Server key’
- Firebase project Web API Key
- Firebase project cloud messaging sender id
- Firebase project id
- Default icon for push notification. Just need to add path
- Default push notification click action url.
Administrator Guide
Dashboard
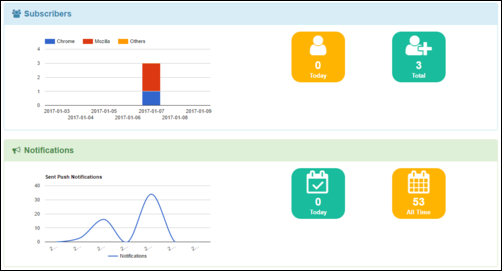
Admin can stay updated with all the subscribers and Push notification related activities at glance.
Subscribers
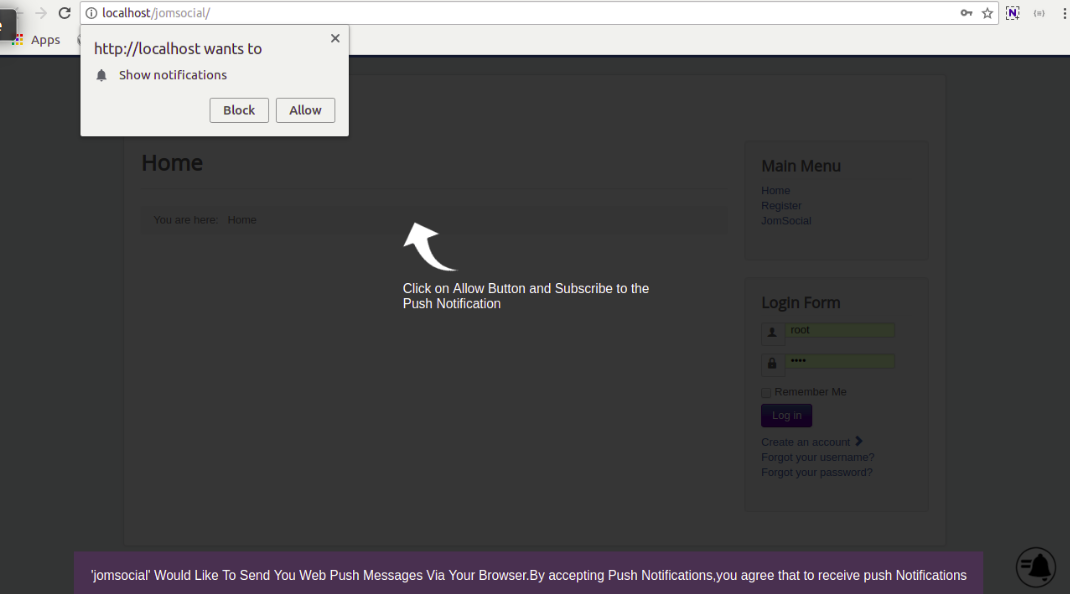
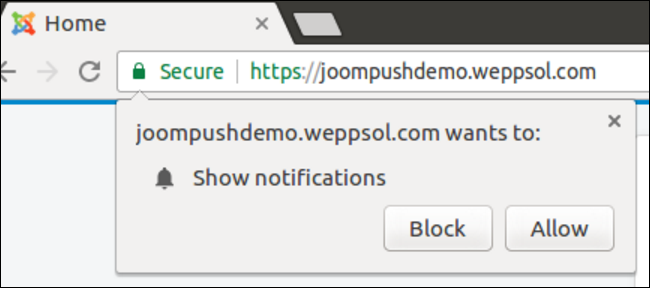
Note: These are the ones who accept by clicking “Allow” button of the pop-up that appears on your site when the user visits it for the first time.
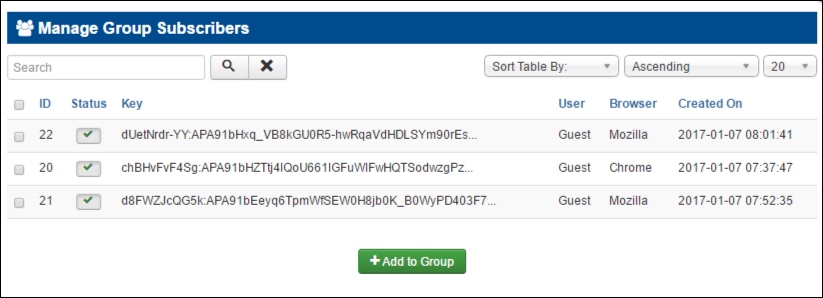
Subscribers will be added in the list view at the backend. You can view all the subscribers in the “Subscriber” menu at the backend
Subscriber Groups
Push Notifications can be sent in Groups. You will have to select specific subscribers and add then in the new group which you will be creating.
Create new Templates
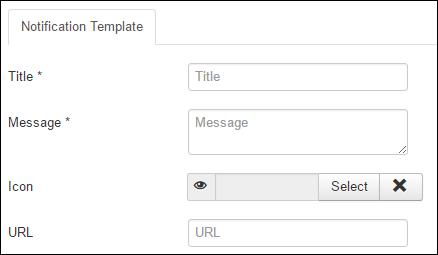
Create a Push Notification message by Adding an Icon that will be shown in the notification. You will also be able to add Title and Message Body (Max Length 235 characters). Admin has the ability to customize the icon and also the redirection path of the notification by adding a URL in it.
Notification Template
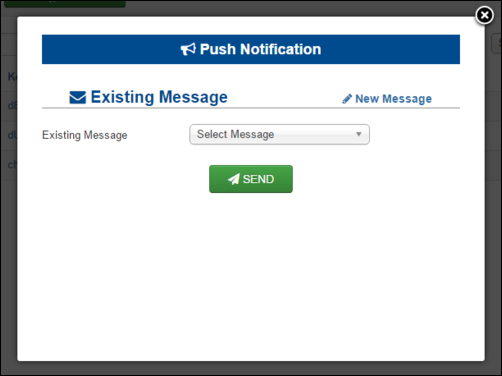
Once you you create a message template that will be saved in by default. These ready templates will be available every time you click “Push”. Here you will also have an option to create a new message template.
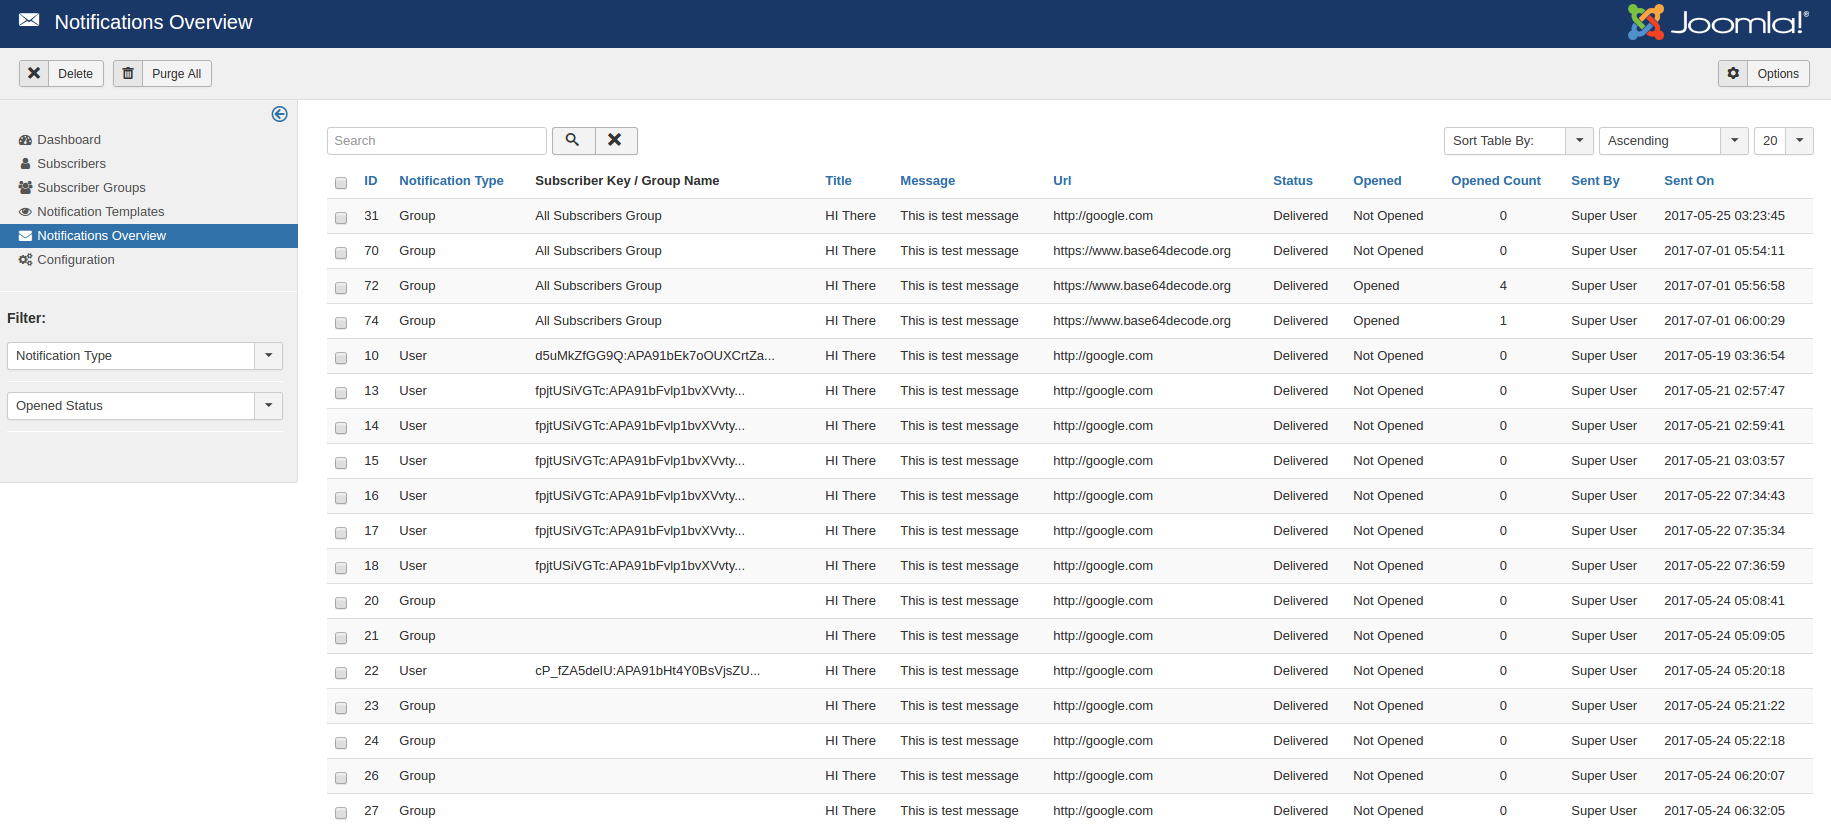
Notifications Overview
Manage all the Google Firebase related configuration from here.
Configuration
Admin user can overview and manage all sent notification status.
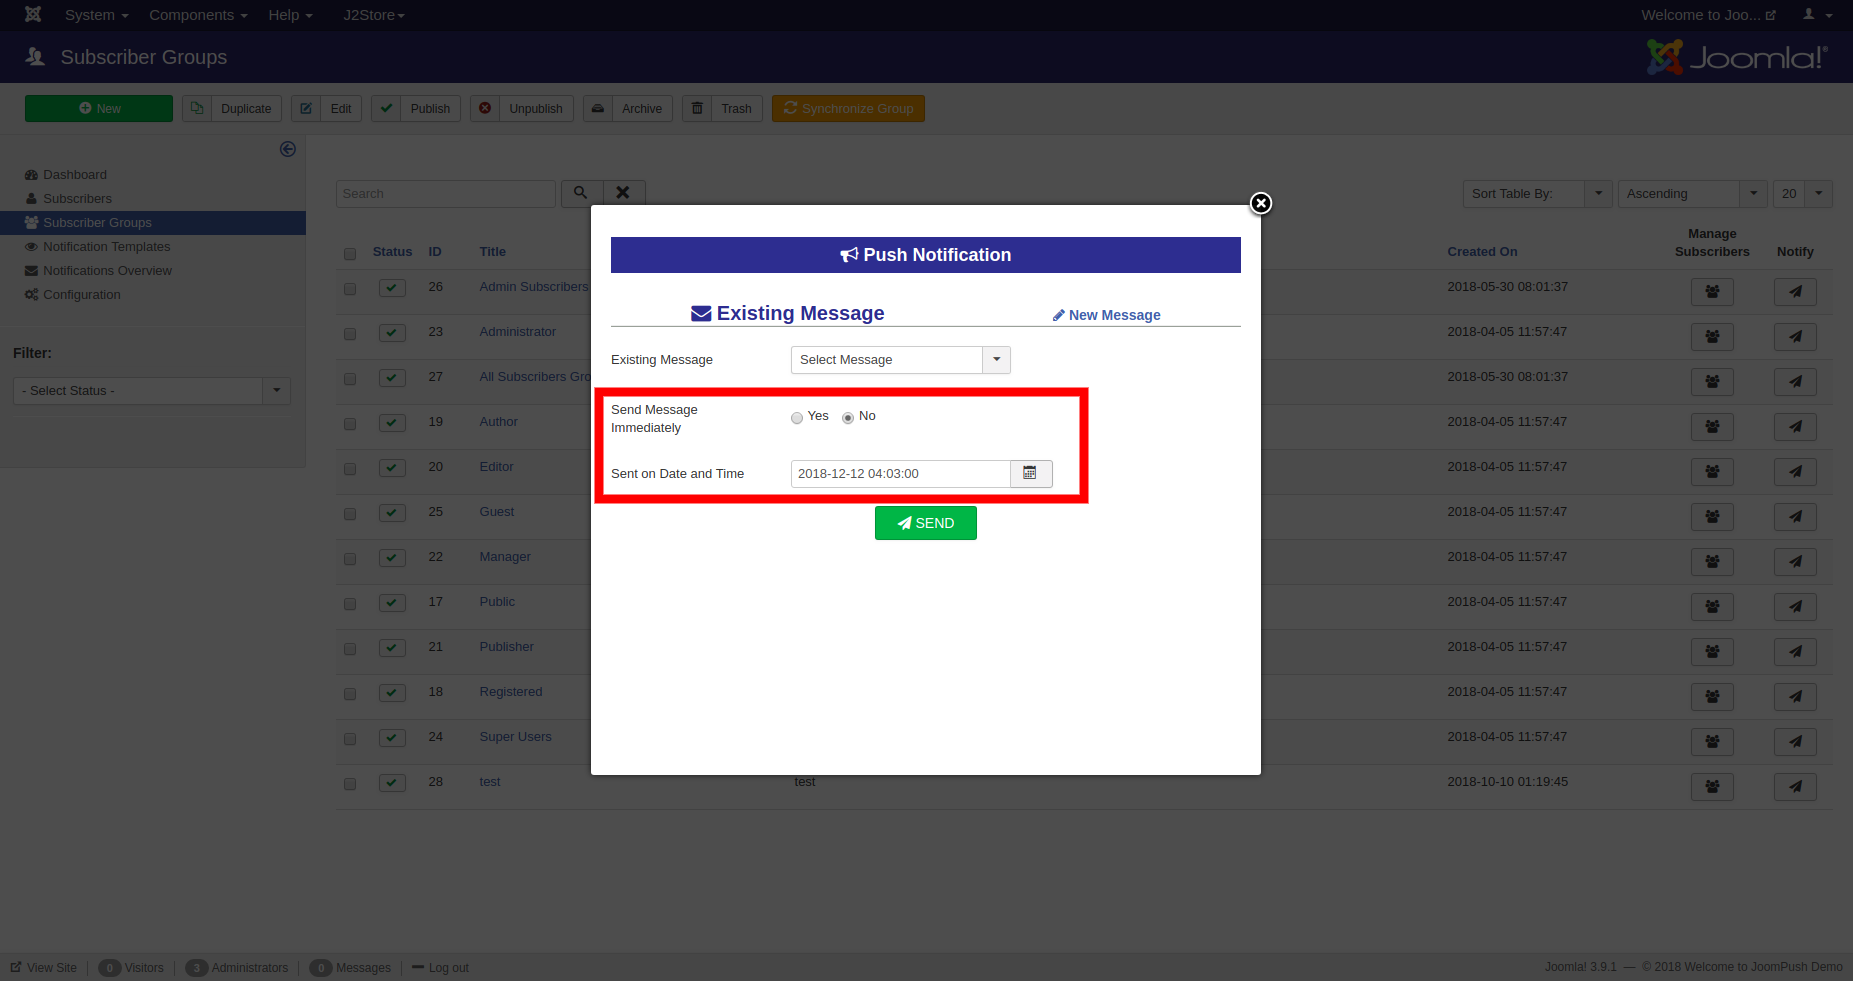
Schedule and Automate Push Notifications
Admin can Schedule and Automate Push Notifications with future date and time
Joompush System Plugin
Go to extensions menu in the backend then click on plugin. Search for “JoomPush”. This is the JoomPush system plugin, which is enabled by default. We would still suggest you to double check if it is enabled or not.
JoomPush J2Store Integration
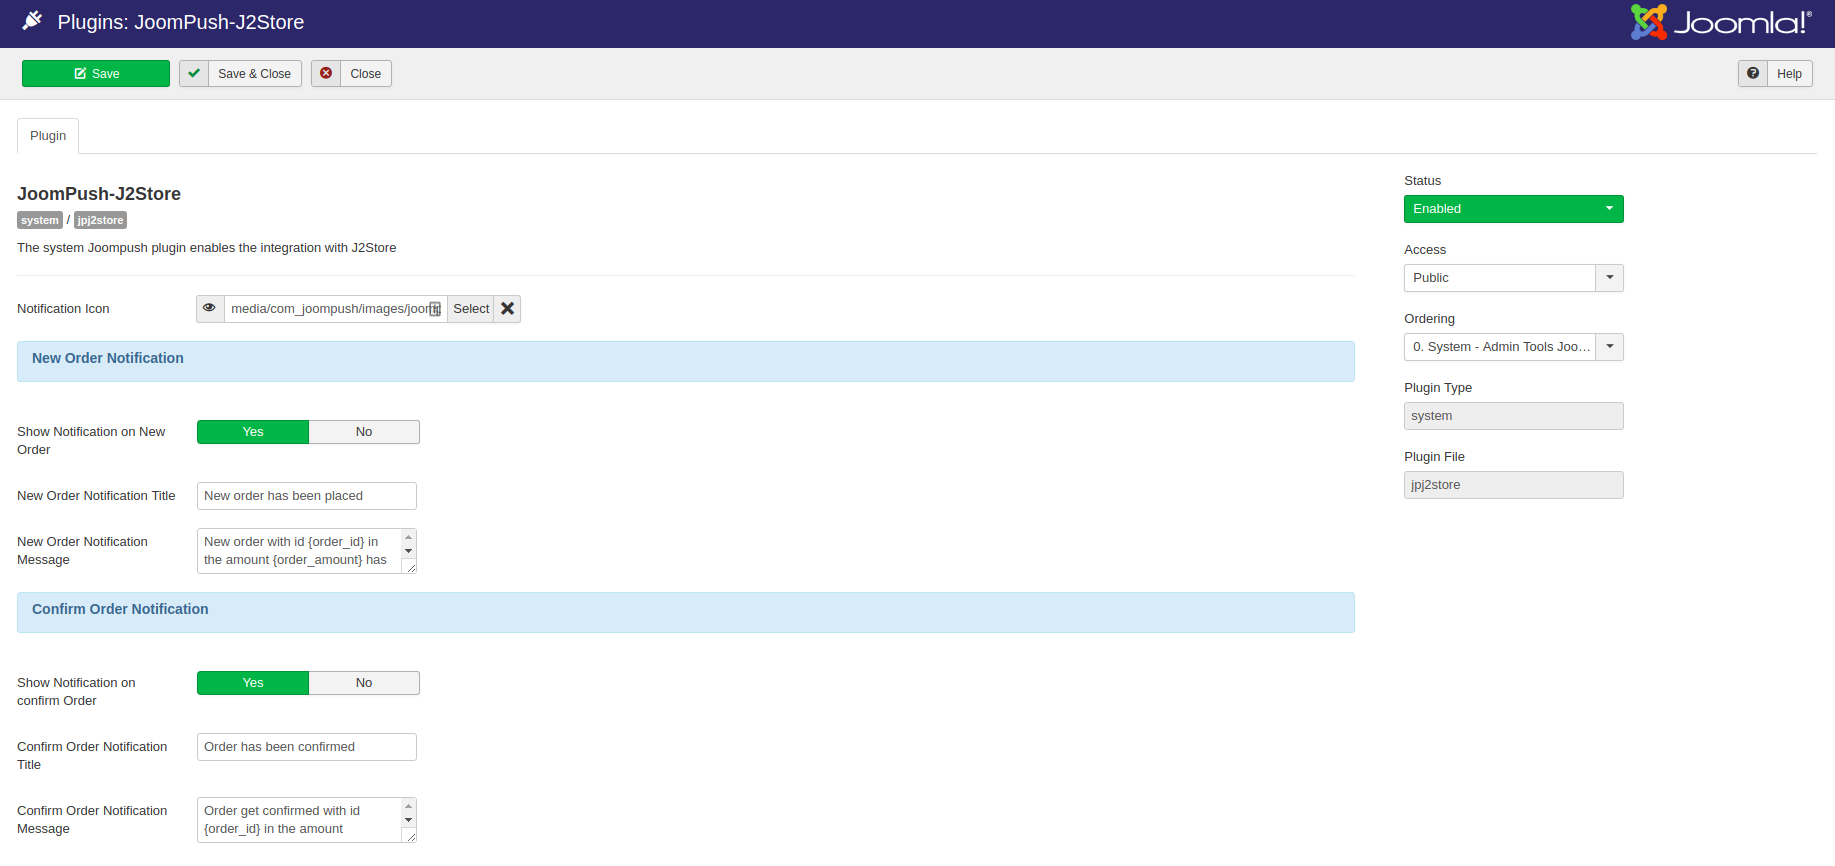
JoomPush j2store integration plugin is used to get push notifications of j2store order related activity to admin users.
To integrate j2store with JoomPush you need to install Joompush j2store plugin and also need JoomPush 1.2. Using joompush j2store plugin you can configure the notification messages.
Using plugin params admin user can set the notification icon and also enable disable the new and confirmation order push notification to himself.
Admin can set their own language notification message and title. In this message {order_id} will replace with order id, {order_amount} will replace by order amount with currency code and {user_name} will be replace by username.
JoomPush JomSocial Integration
JoomPush Web Push Notification plugin for JomSocial! is used to Sends Web Push Notifications to all the Subscribed registered users. Users will receive Web Push Notifications wherever they receive JomSocial notifcations..
To integrate JomSocial with JoomPush you need to install Joompush JomSocial plugin and also need JoomPush 1.2. Using joompush jomsocial plugin you can configure the notification messages.
You just needs to enable plugin to integrate JoomPush with JomSocial Notification
Since you want to use JoomPush with Jomsocial then need to do some config chnage in JoomPush component as below
- Site Section should be set to Frontend (Site)
- Allow Guest User Access should be set to 'No'. Because only registered users will get the web push notification.
JoomPush Joomla Article(Content) Integration
JoomPush Web Push Notification plugin for Joomla Article is used to Send Web Push Notifications to all the Subscribed registered users while creating a new article.
To integrate Joomla with JoomPush you need to install Joompush content plugin and also need JoomPush 1.3.9. Using JoomPush Content plugin you can select subscribed user group which you want to send web push notifications.
JoomPush Joomla Integration plugin related config
You just need to enable the plugin to integrate JoomPush with Joomla Notification

Since you want to send web push notification while saving Joomla article. You just need to set ‘yes’ to send notification option in JoomPush tab while creating a new article. After that select subscribed user group which you want to send a push notification.

JoomPush K2 Integration
JoomPush Web Push Notification plugin for K2 Items is used to Send Web Push Notifications to all the Subscribed registered users while creating a new K2 Items.
To integrate K2 with JoomPush you need to install JpK2 plugin and also need JoomPush 1.3.9. Using JoomPush K2 plugin you can select subscribed user group which you want to send web push notifications.
JoomPush K2 Integration plugin related config
You just need to enable the plugin to integrate JoomPush with K2 Notification

Since you want to send web push notification while saving K2 items. You just need to set ‘yes’ to send notification option in JoomPush tab while creating K2 new items. After that select subscribed user group which you want to send a push notification.

